How reMarkable! - Review of the reMarkable 2 Paper Tablet
I love to doodle. One of the main things I find in working at PixelHaze is I've been encouraged to doodle even more throughout my branding and logo designs to the point where we've painted the walls in chalk paint to encourage me to draw on the walls themselves!
Whenever I'm given an illustration project, I will never jump straight onto the computer, I will often get out my A3 sketch pad, draw out my illustrations by hand, take a photo (or scan the image) then re-sketch my illustration using Adobe Illustrator, effectively doubling my workload.
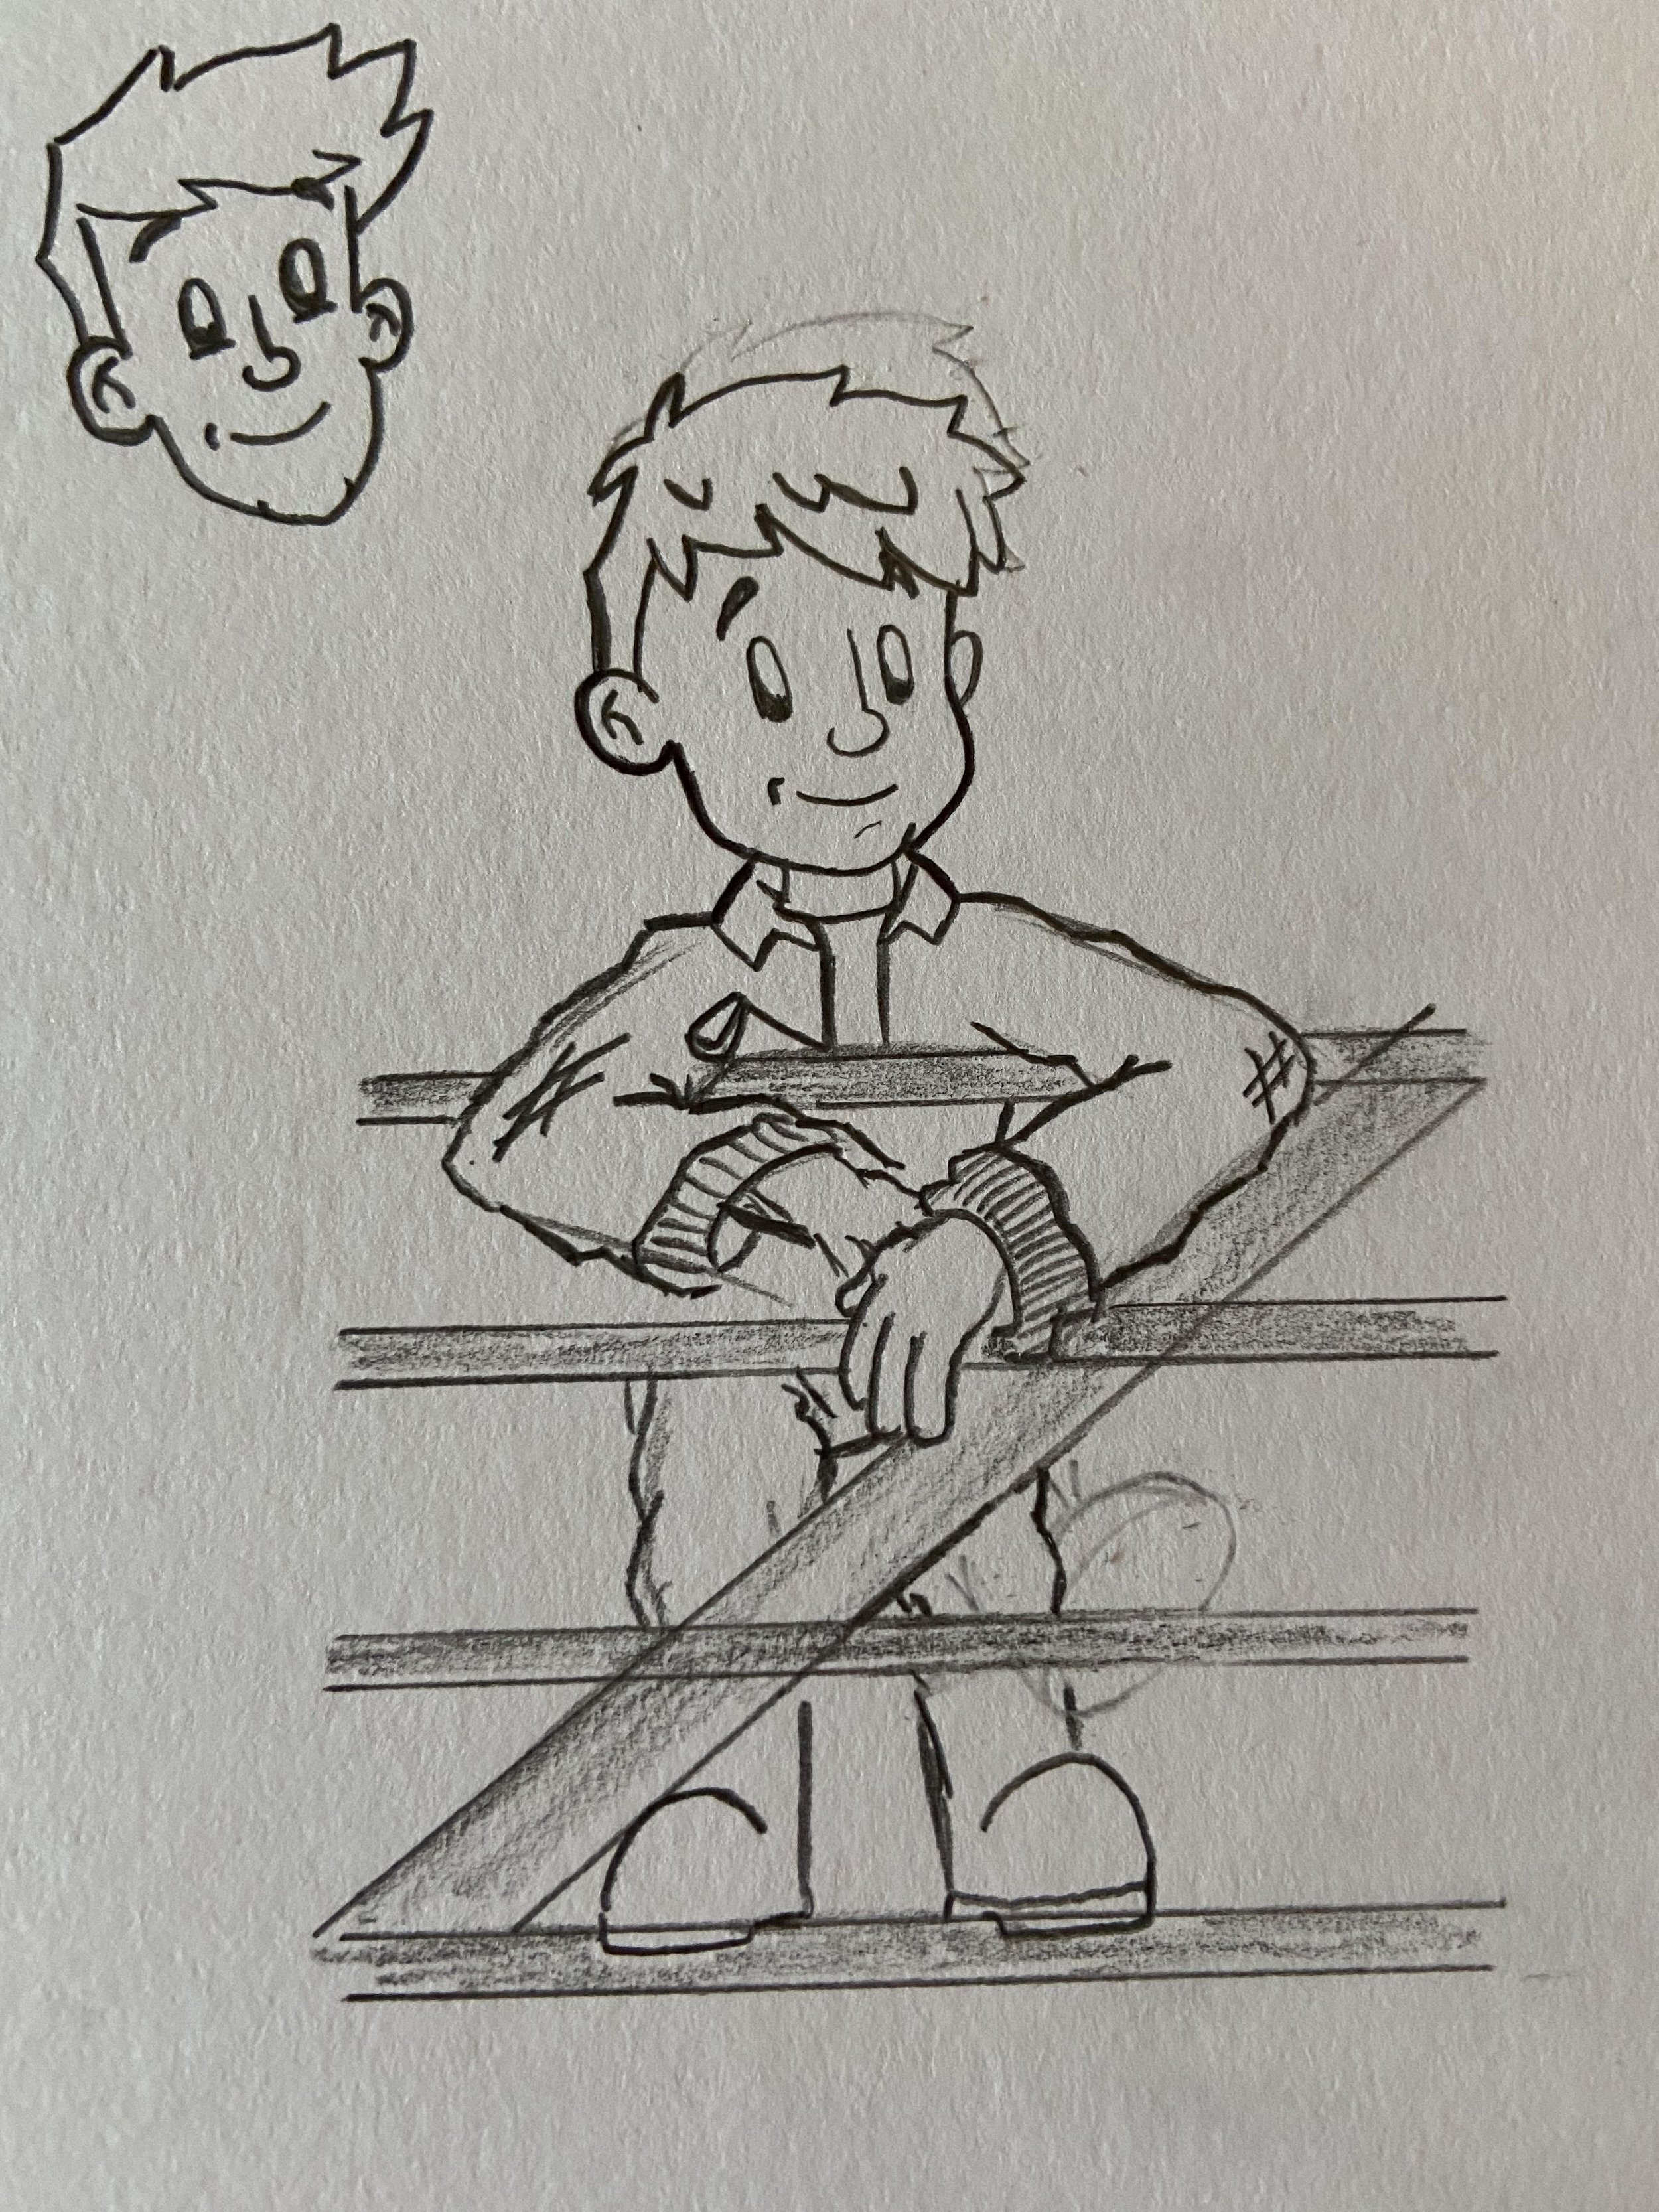
Initial Sketch on Paper

Illustrator Design
Now, this isn't effective if I'm trying to meet a project deadline and I've had quite a learning experience when joining the project for the Farmer in Training series. The series is a collection of illustrated books created by myself and author Anwen Nichols. Anwen approached me with the idea of creating a series of books dedicated to the farming way of life and shining a more positive light on agriculture as a whole.
One thing that we noticed was in a lot of farming children's books, they always focused on the idyllic side of farming. For instance, the lambs would be “frolicking in the fields” and everything would be perfect. Anwen wanted to shine a real light on what real farming is like with stories that many farmers would be quite familiar with. Given that, I'm from a farming background myself, this job was perfect for me as I was able to draw from experiences and fond memories.
My Process
To begin with, I was sketching my illustrations out on A3 paper, taking photos, and then tracing these illustrations on Illustrator. This was incredibly time-consuming, so I was eager to find a solution.
Firstly, I began playing around with an iPad, specifically an iPad with an Apple Pencil. I essentially had Adobe Illustrator installed on my iPad and was able to sketch onto the iPad with the Apple Pencil. This was incredibly useful for taking my illustrations and having them exported and ready to access on my computer where I could start manipulating the initial sketches I began with.
However, one of the main issues I had with this was that the Apple Pencil slid around a lot on the iPad screen. I couldn't quite get that pencil to paper feel that I was really looking for. When I sketch using a pencil or a pen I tend to press quite hard and in doing so on an iPad screen I found my pencil flying off the page. I couldn't quite get the detail that I was used to with a traditional pencil. I tried some other ways to get around this by purchasing a film that covers the iPad, essentially adding a paper texture to the screen itself. Now, while this was a lot more familiar to paper and felt a bit more like paper, there was something not quite right about it and I just couldn't get that detail I was after.
I tried different solutions, for instance using a Bamboo WACOM tablet, which I thought might have been the solution but I could never quite get that precision I was really looking for.
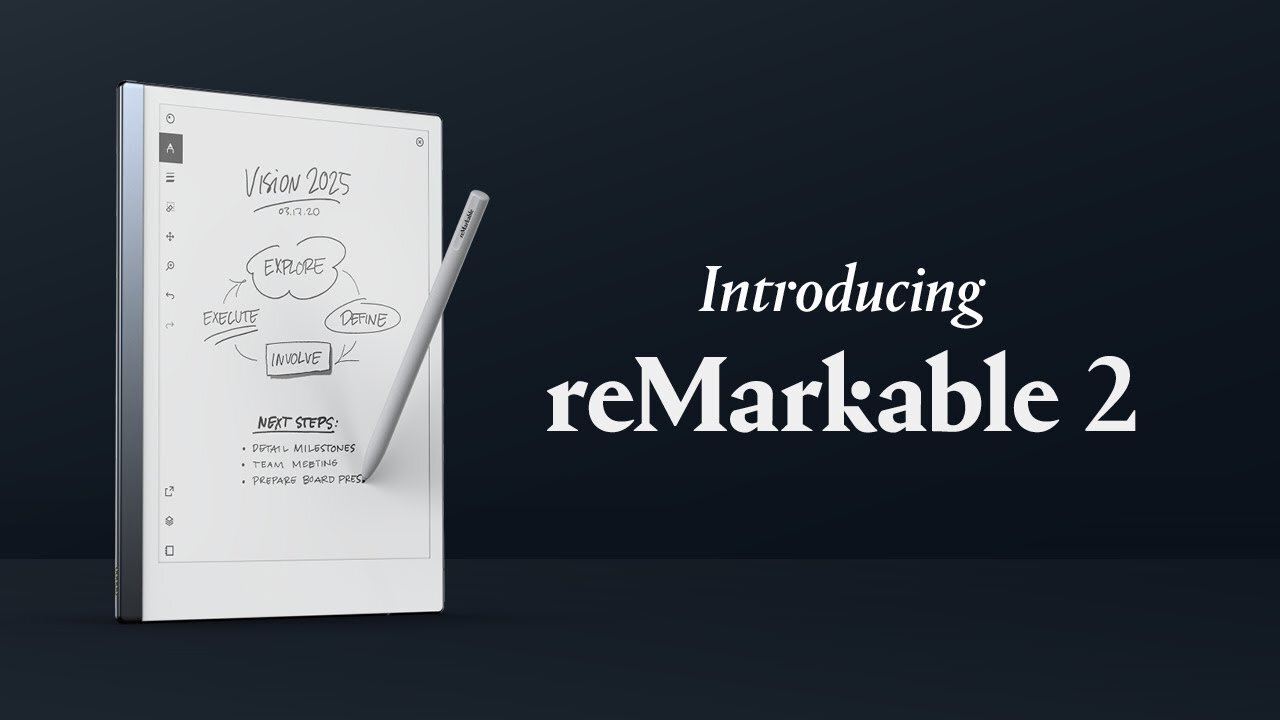
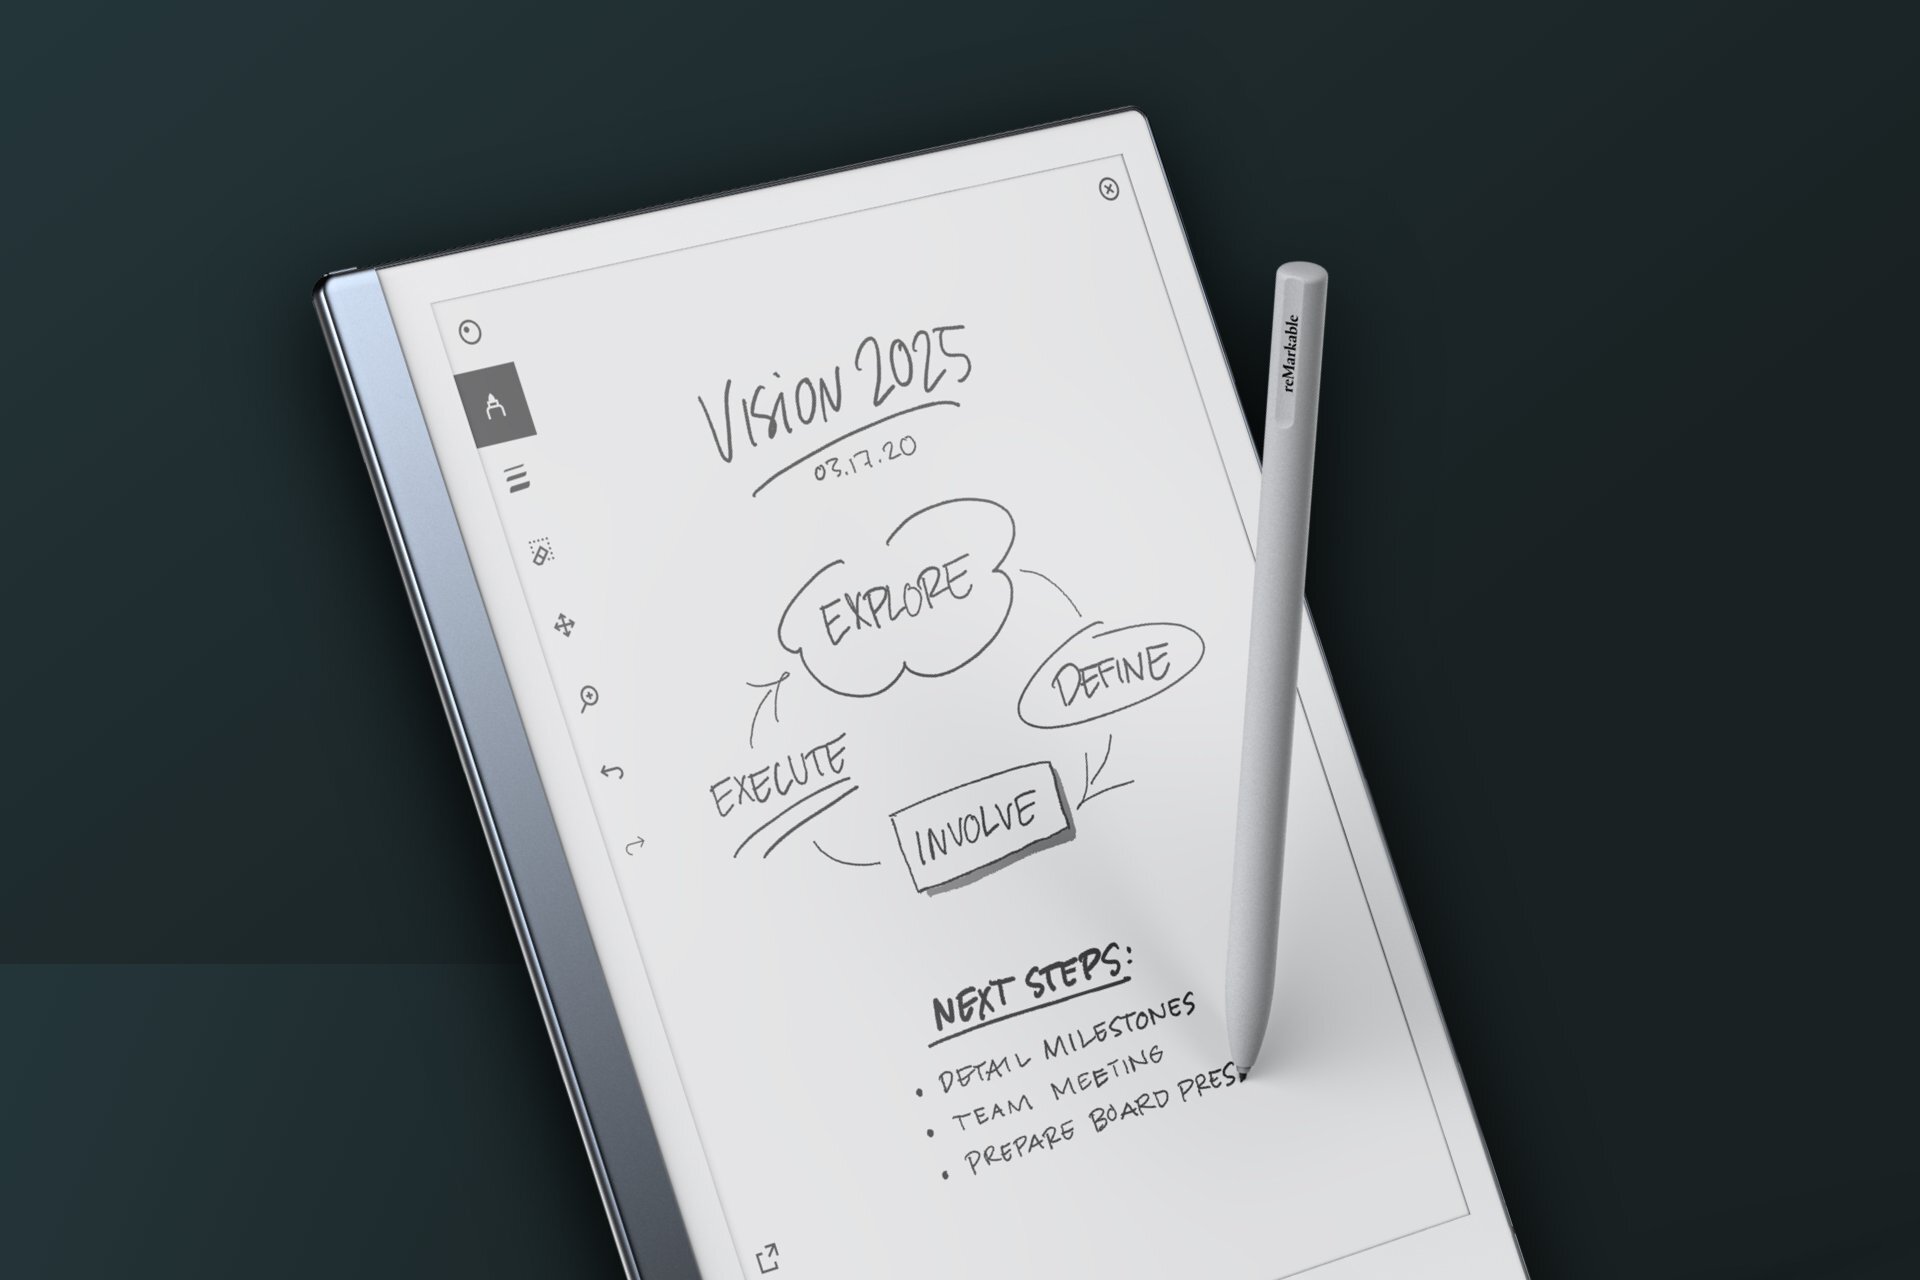
The reMarkable 2 - Paper Tablet
After some digging, Elwyn and I came across the reMarkable Tablet. The difference between a reMarkable Tablet and an iPad is that the screen and pencil itself feel like a pencil on paper. It felt like you were sketching on actual paper, not a tablet. The screen doesn't have a glaring light behind it, it actually just reflects light. It uses billions of little e-ink particles which when you touch the screen allow the e-ink to move to the front of the screen, creating this pen on paper effect. The first thing I noticed when using the reMarkable Tablet was that familiar sketch noise. When I draw from one side of the screen to another you get that familiar noise that I was really lacking on the iPad and I found that it made such a difference.
The device has a multitude of different pen options ranging from a ballpoint pen to a fine-liner all the way to a paintbrush. All of these different tools allow you to create effects such as sketching, or if you just want to write some notes it allows you to, the freedom is there for you to just sketch away. The benefit of using the reMarkable Tablet is that all the designs are in one place. Before using the tablet, I was clogging up the studio with different pieces of paper and notebooks full of ideas but now I don't have to keep looking through books to find ideas I created six months ago, they're all in different folders stored on the tablet.
One thing I’ve been really impressed with is how the pencil feels like a pencil. The nib at the end of the pencil feels as though it is graphite: it just feels authentic like you are sketching on real paper. It is an extremely well-thought-out product, even little details for instance at the back of the pencil is a rubber. So sketching with the Remarkable is like if I was writing with a standard HB pencil - I can sketch out an idea and if I don't like something, I could flip the pencil around and rub it out with the tail end of the pencil.

reMarkable 2 - Paper Tablet
The Trade-Off
Some downsides of the reMarkable tablet are that there is no option to select from different colours - I can select from different shades on the greyscale but no colour. Another drawback is that to be able to share this tablet screen onto a monitor in our office, we would have to pay a monthly subscription to have access to that feature. The usefulness of this feature is something that we are looking into, as we value being able to have the client in the studio, speak to them about ideas, and for them to be able to visually see their idea being brought to life on a monitor in the studio. This would save a lot of time rather than going back and forth between drawings; the client could see it coming together on the screen.
Say goodbye to notebooks!
One of the main features as well as that you don't have to worry about losing any paper. Having all the paper in one screen and also being saved and backed up to the cloud. You don't have to worry about the paper getting damaged or someone accidentally throwing it away - it's all saved on one nifty little device. The illustrations that you draw can also be exported into SVG files, which can then be imported into something like Adobe Illustrator. So if you're happy with the design, you can actually import it straight into Illustrator and begin working on it from there.
There's also an option to put a piece of paper, like a kind of template behind one of the layers on the screen so that you can sketch on top of it. For example, if I'm creating an illustration that needs to be isometric, I can import an isometric piece of paper to the back of the remarkable tablet and then draw on top of this. We use this effect in-house to create a lot of our illustrations for the studio, such as the islands which show off all our different service offerings. If I want to create a new building for the island, I can just import the isometric background and begin sketching.
Over the next year, I'm going to be reviewing this tablet and I will create an update showing my workflow with this tablet and how I've used it over the year to improve our studio experience and my workflow.


Vivamus pellentesque vitae neque at vestibulum. Donec efficitur mollis dui vel pharetra.